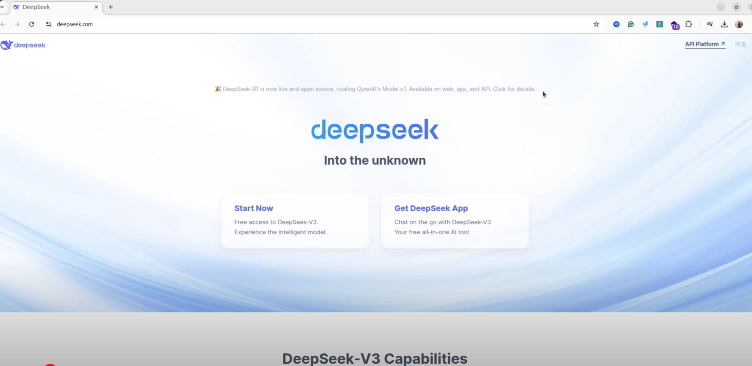
DeepSeek AI is a powerful open-source language model that you can run locally on your PC for free. This guide will walk you through the installation process, ensuring you can harness the capabilities of DeepSeek AI without relying on cloud services.
Prerequisites:
- Operating System: Windows, macOS, or Linux
- Hardware: Modern CPU with at least 16 GB of RAM; a dedicated GPU is recommended for optimal performance but not mandatory.
- Software: Python 3.8 or later, and Git installed on your system.
Step 1: Install Ollama
Ollama is a tool designed for running AI models locally. Open your terminal and run:
This command downloads and executes the Ollama installation script. After the process completes, verify the installation by checking its version:
Ensure that the Ollama service is running:
If it’s not active, start it manually:
To have the service start automatically on boot:
Step 2: Download and Run DeepSeek-R1
DeepSeek-R1 offers various model sizes to balance performance and resource usage. For instance, to download and run the 7B model, execute:
If your system has limited resources, consider starting with a smaller model:
1.5b: Minimal resource usage7b: Balanced performance and resource requirements8b,14b,32b: Intermediate options for higher performance
The download size for these models varies:
- 1.5b: ~2.3 GB
- 7b: ~4.7 GB
- 70b: ~40 GB+
Choose the model that best fits your hardware capabilities.
Step 3: Interact with DeepSeek
Once the model is downloaded, you can start interacting with it directly. To run the DeepSeek-R1 model, use:
You can now input prompts and receive responses from the model.
Optional: Using a Local API for Integration
If you wish to integrate DeepSeek into other applications or services, you can enable the API:
This allows you to programmatically interact with DeepSeek.
Conclusion
By following these steps, you can run DeepSeek AI locally on your PC, providing you with a powerful tool for various applications without the need for cloud-based services. Remember to choose the model size that best fits your hardware capabilities to ensure optimal performance.
For a visual walkthrough, you might find this video helpful:
